|
|
||
|---|---|---|
| .. | ||
| Images | ||
| .metadata.yml | ||
| plug_panel_raspberry_bracket.stl | ||
| plug_panel_with_raspberry_DD11.stl | ||
| plug_panel_with_raspberry_filtered_rocker.stl | ||
| plug_panel_with_raspberry_unfiltered.stl | ||
| readme.md | ||
readme.md
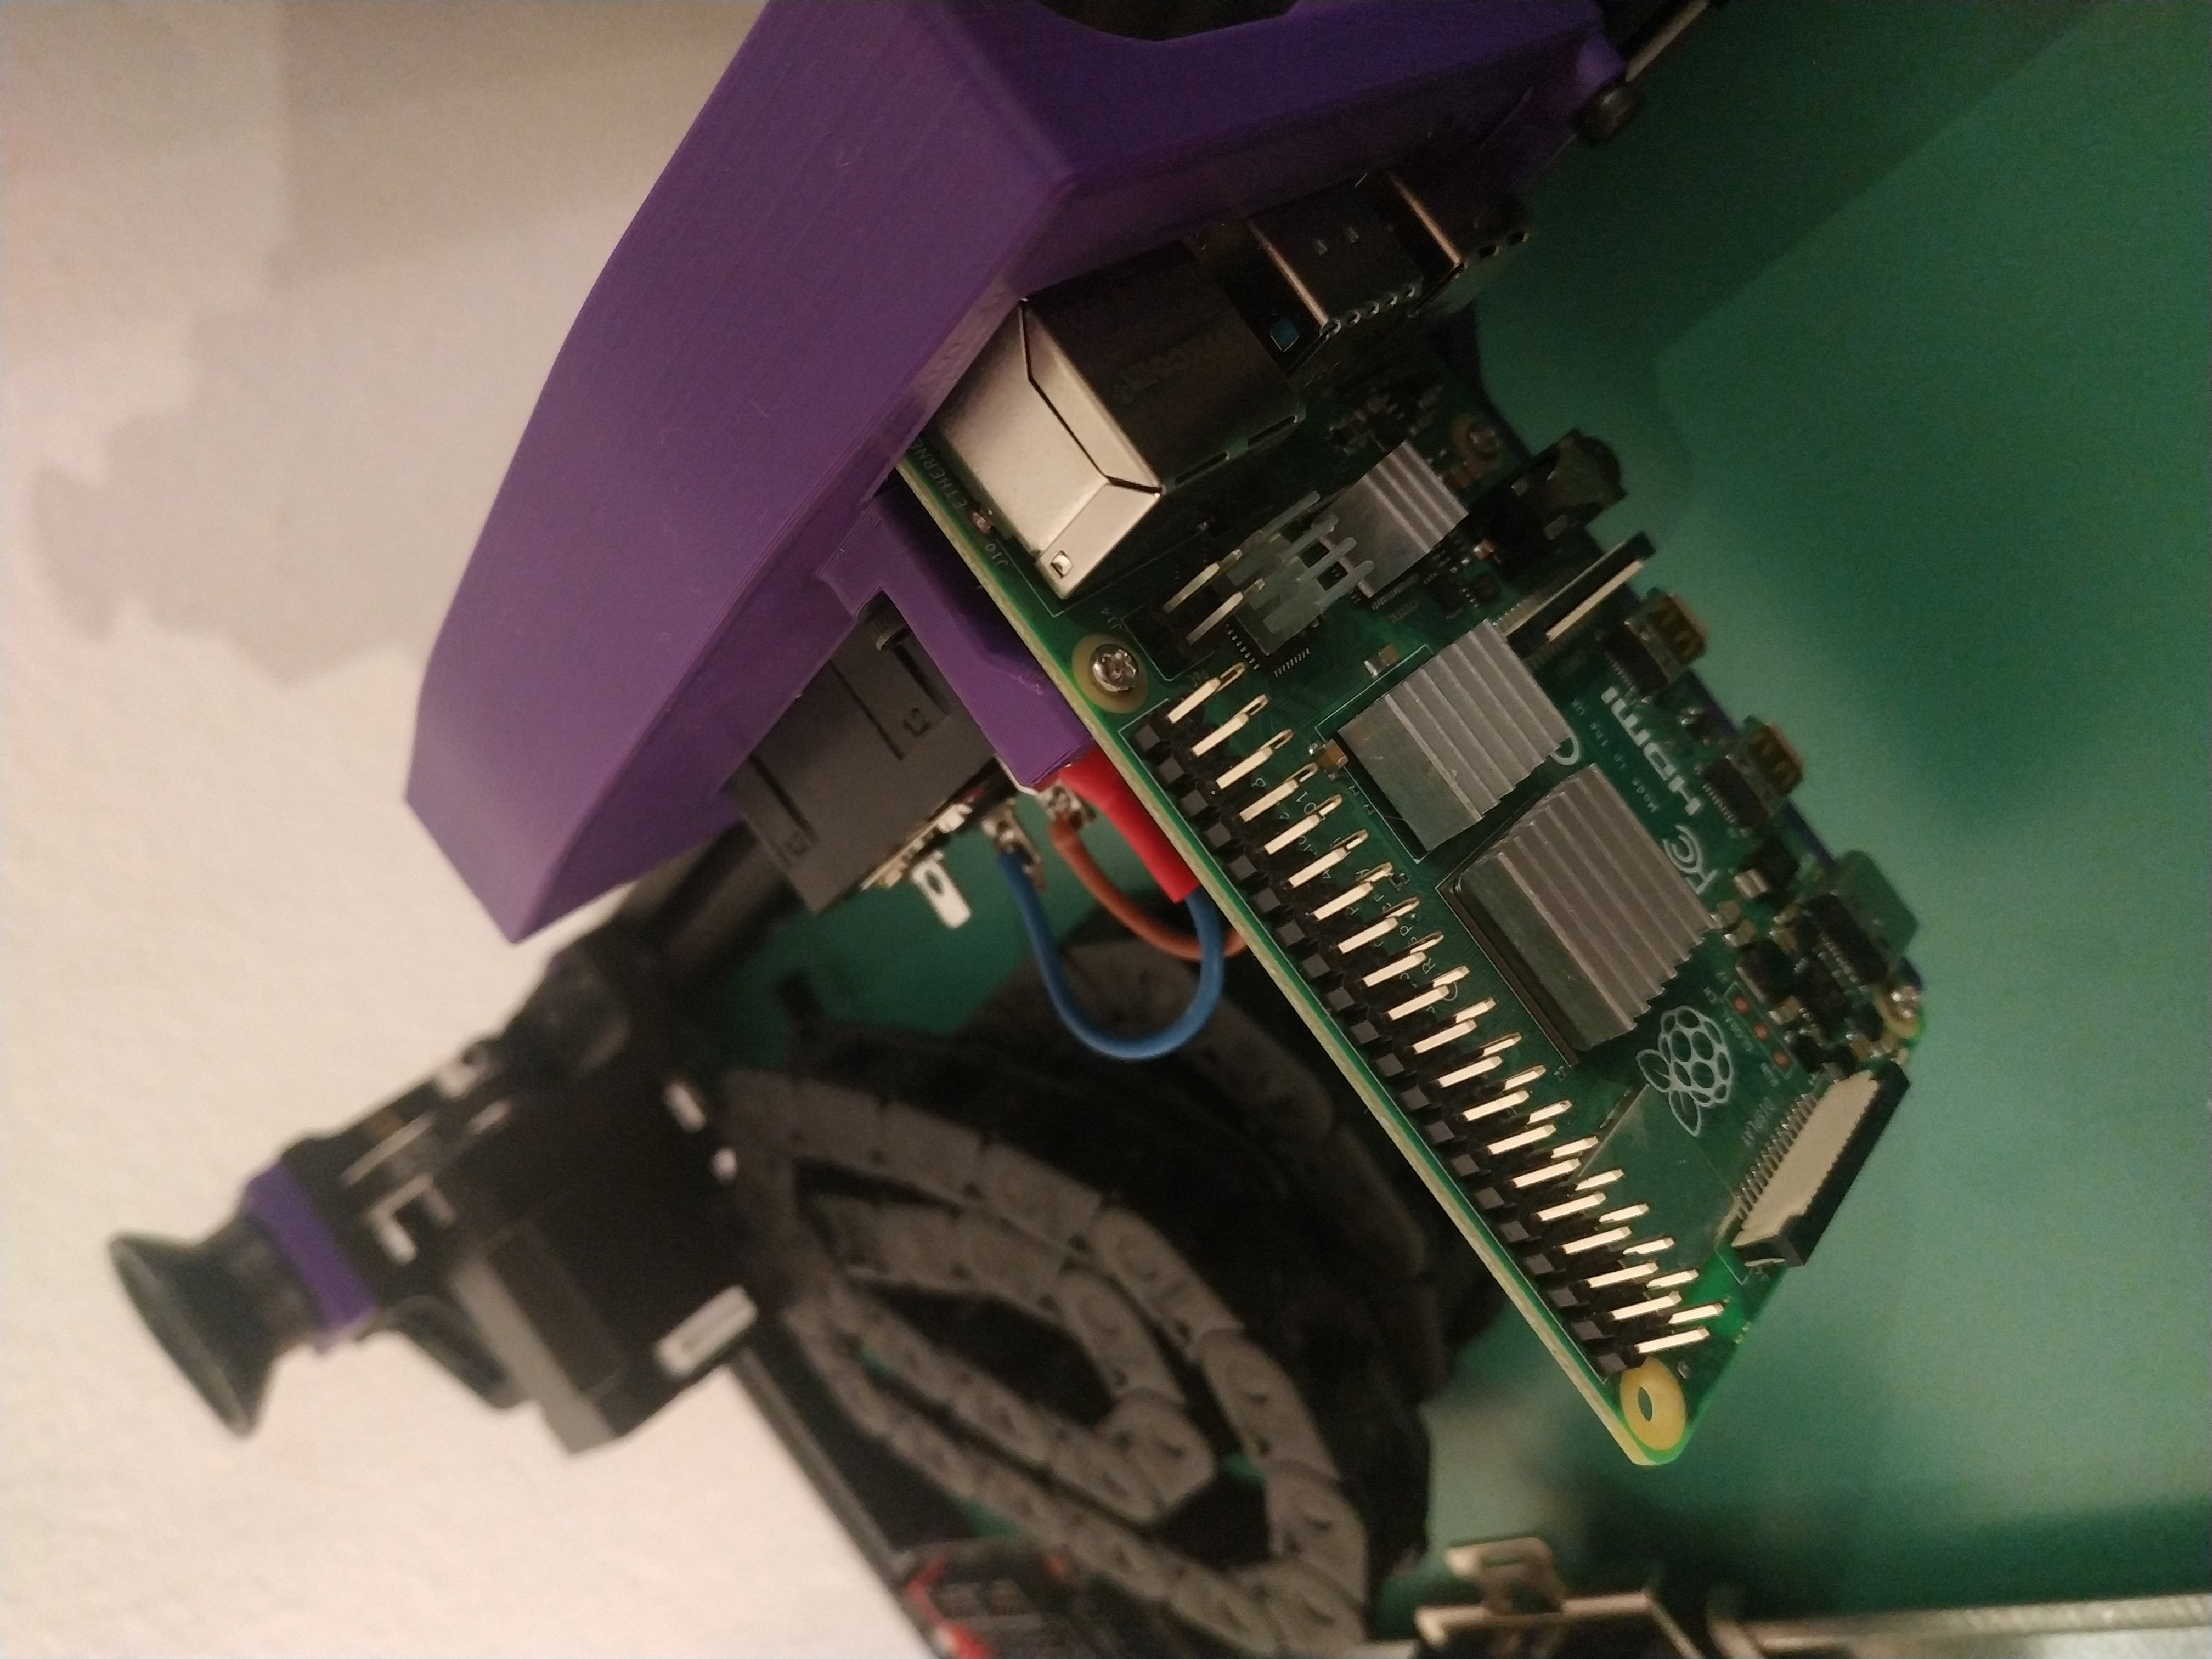
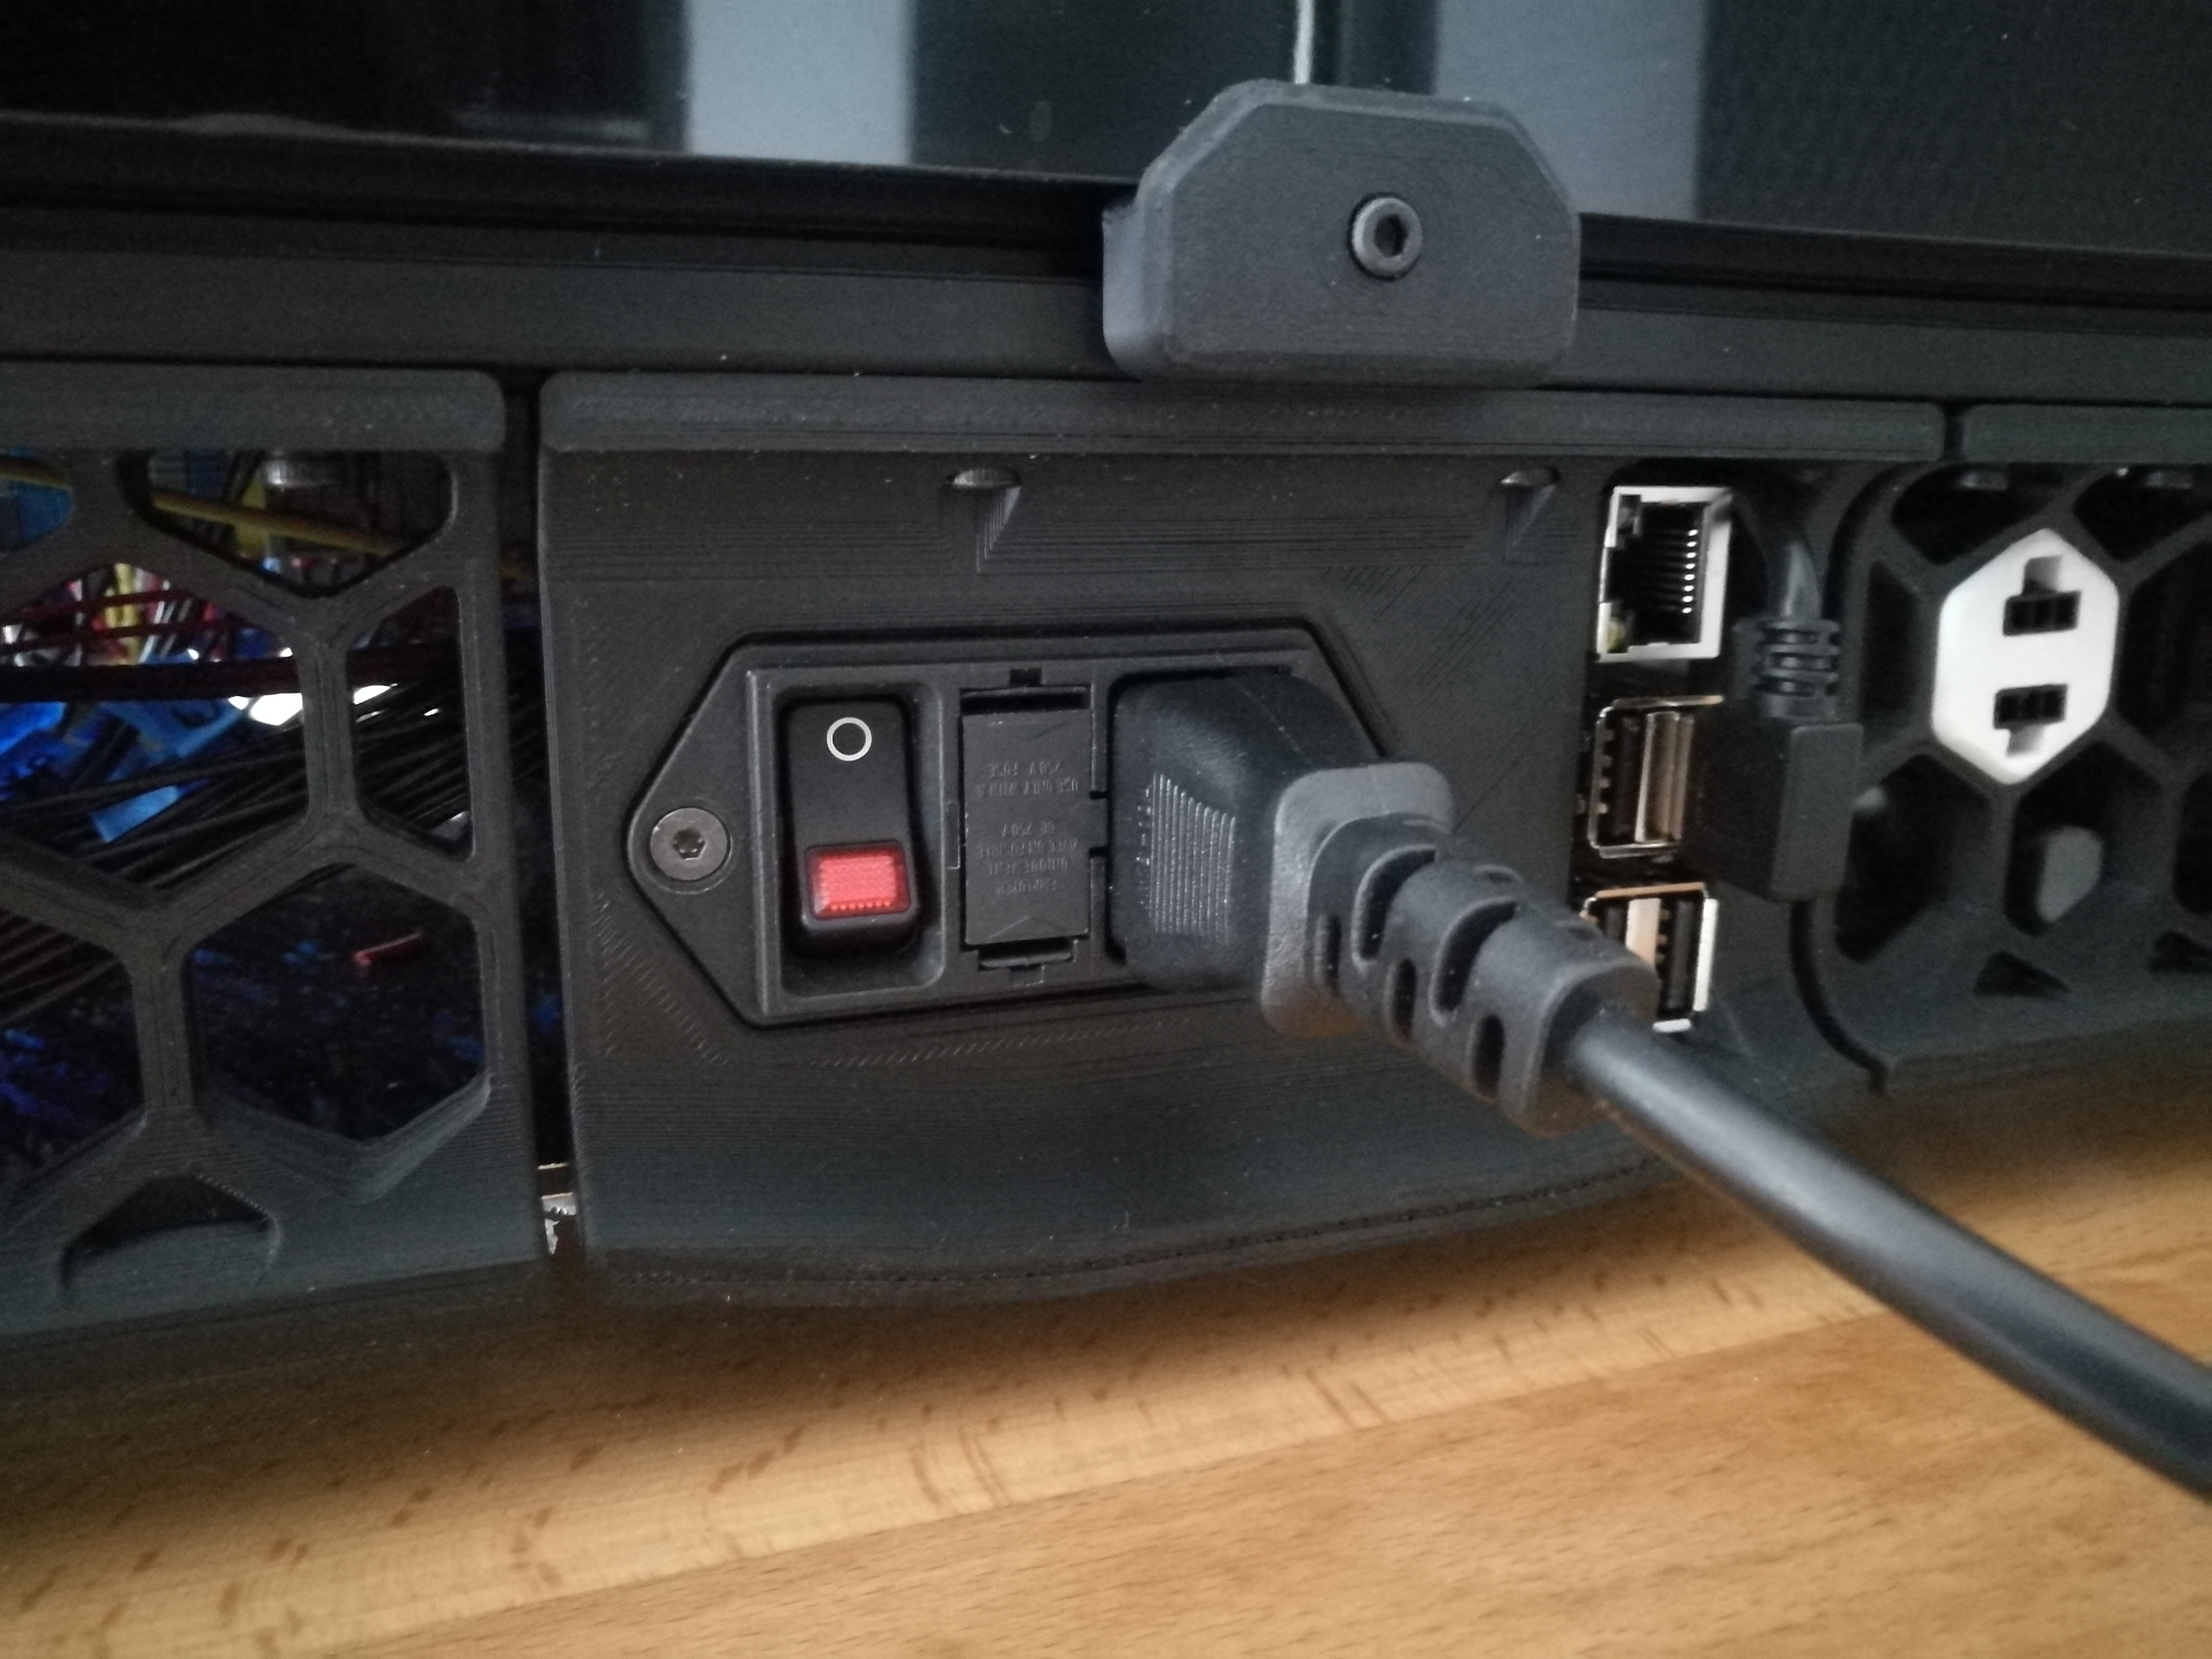
Voron 2.4 Raspberry vertically installed in plug panel
For the DD11 version I used this reference: SCHURTER DD11.0113.1111 Many other versions of SHURTER DDXX plugs are compatible. Check out sizes on datasheet.
Instructions
- Put three M3 threaded inserts in the back of the panel.
- Install the pi on the bracket with three M2x10 self tapping screws.
- Pass the USB cable(s) for inner components such as SKR before attaching the bracket to the panel. There is a notch on the side of the opening for the raspberry to that purpose.
- Use three M3x8 to attach the bracket to the raspberry. The rest of the installation is pretty similar to the original bracket: check the official manual.