|
|
||
|---|---|---|
| .. | ||
| CAD | ||
| Images | ||
| STLs | ||
| README.md | ||
README.md
MGN12 X axis
This replaces the dual MGN9H rails on the V2.4 X axis with a single MGN12H rail. The belt is directly clamped to the MGN12 block by the carriage.
The stock PL-08N probe is not supported as it is too long. Use one of the alternatives listed below.
Thanks to joshmurrah, hartk, and everyone else who helped out in one way or another.
Required hardware
In addition to things you can reuse from the stock build, these items are required:
- 1x MGN12 linear rail with MGN12H carriage (same length as the original MGN9 rails)
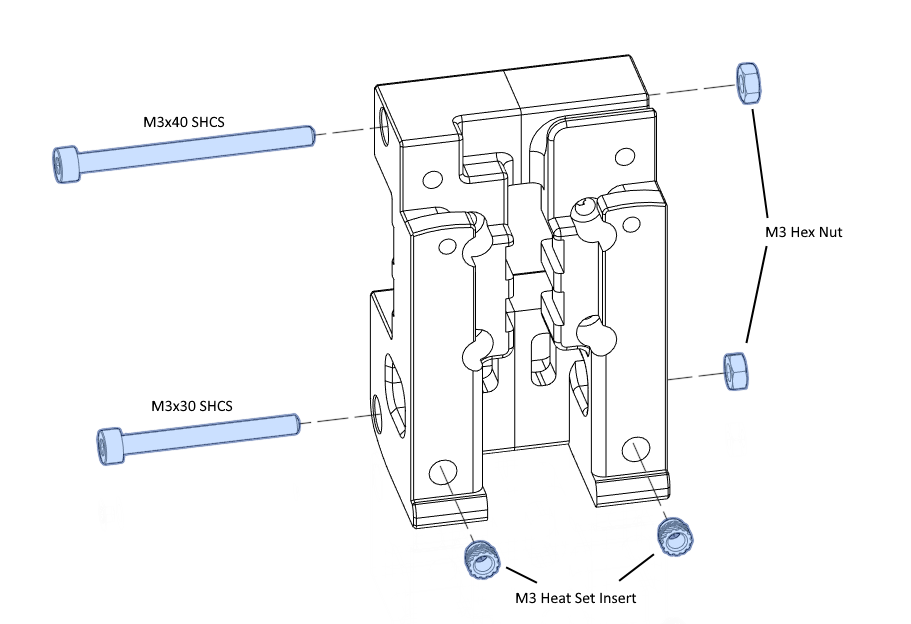
- 1x M3x40 SHCS
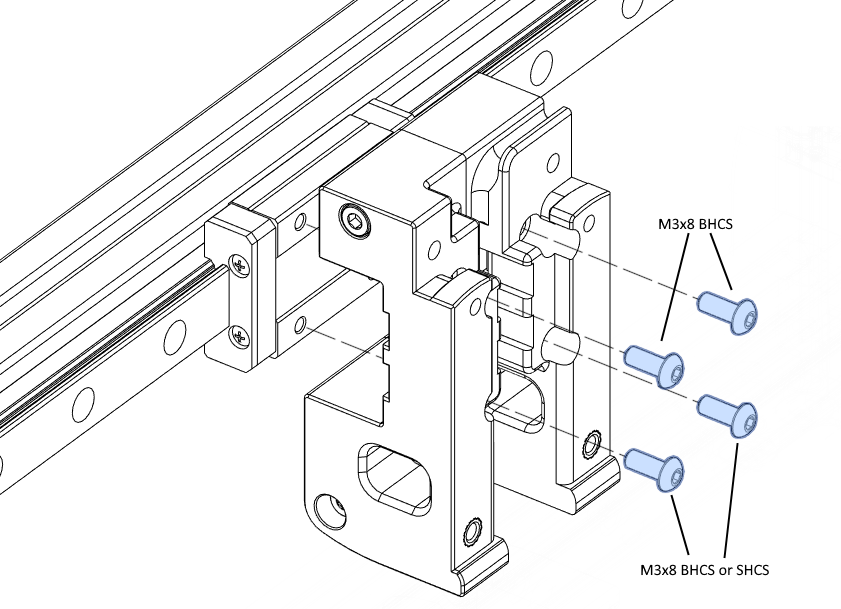
- 4x M3x8 BHCS (or 2x BHCS and 2x SHCS)
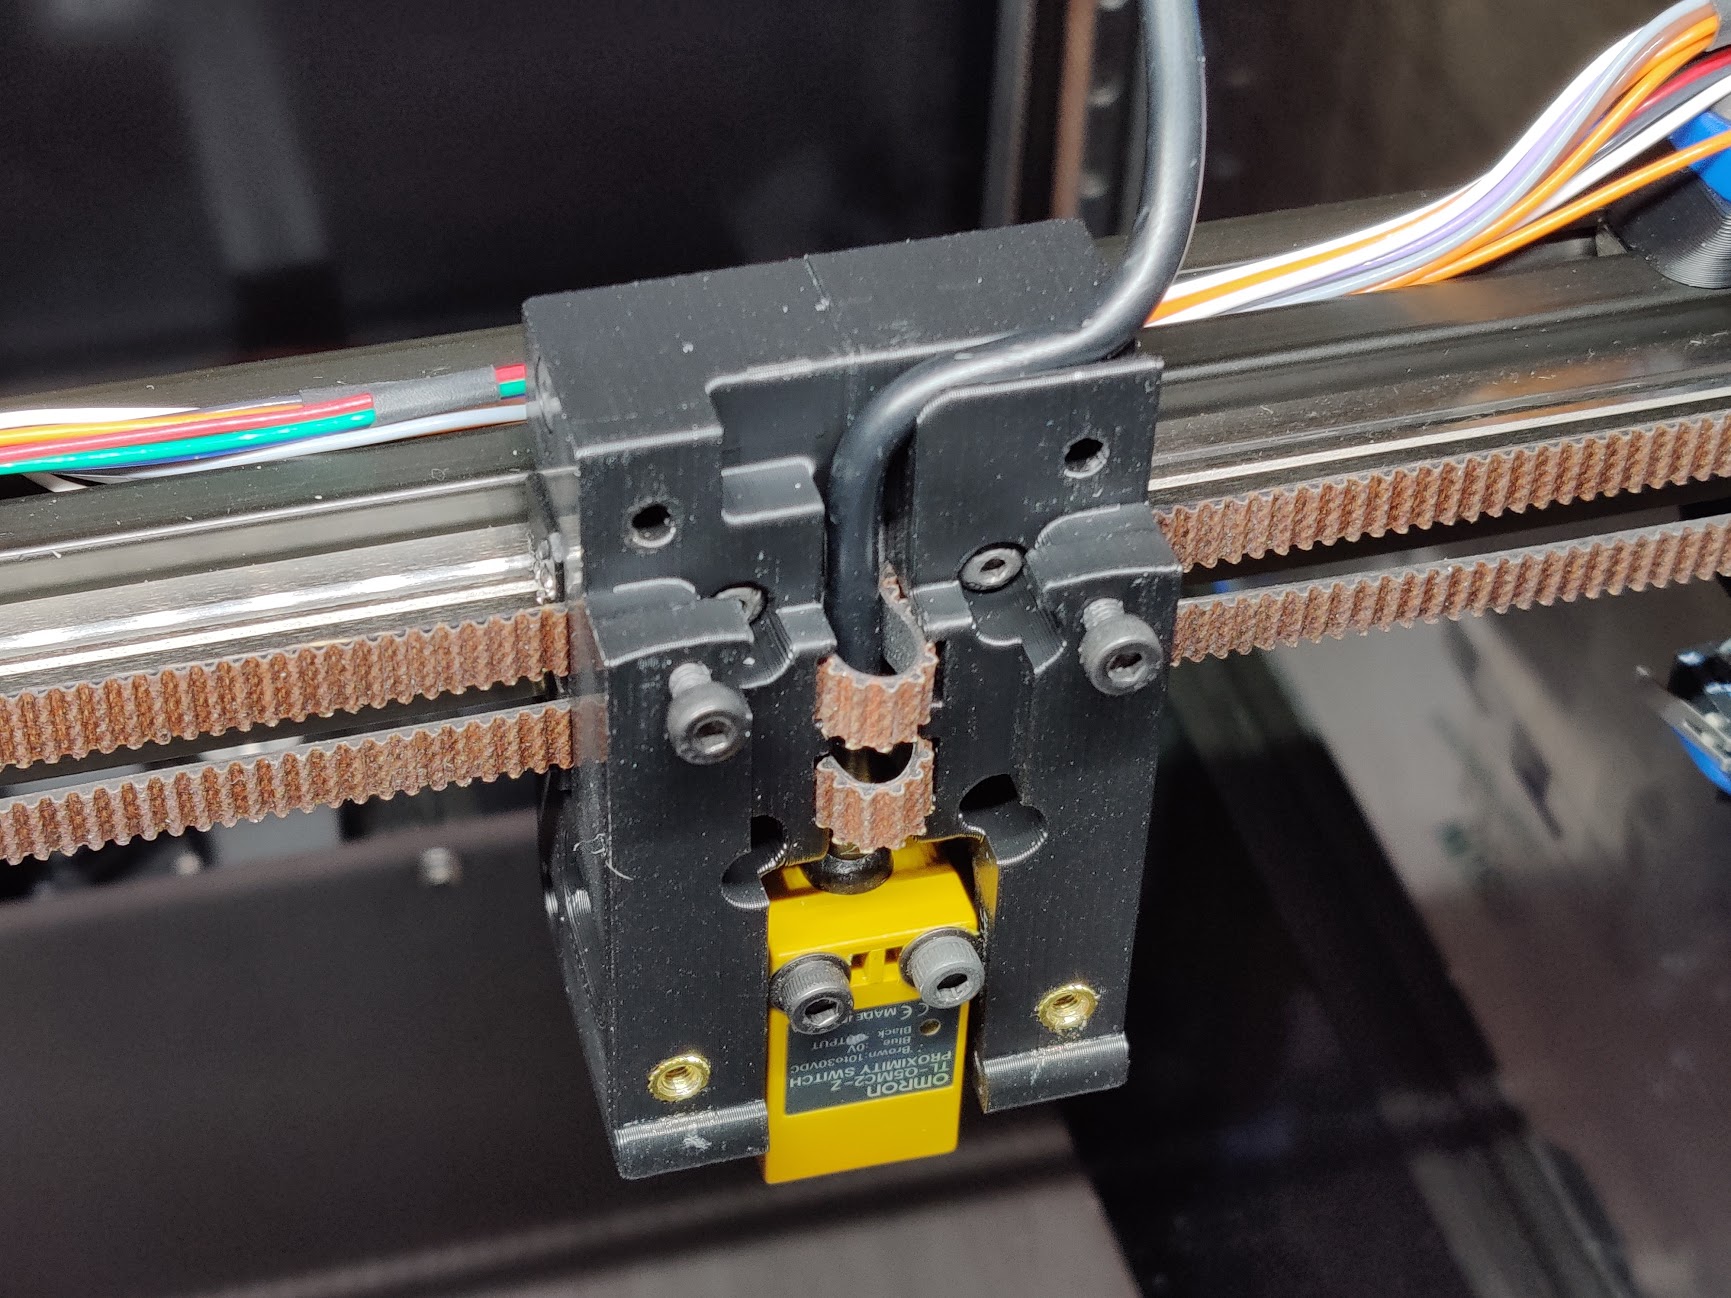
Supported probes:
- Omron TL-Q5MC2 (use M3x25 or M3x30 screws)
- Panasonic GL-18HB/18HLB (use M3x25 or M3x30 screws)
- Panasonic GX-H15B/HL15B (use the 9mm probe bracket and M3x16 screws)
Instructions
Assembly is similar to stock V2.4, see the assembly images below.
The belts are clamped between the carriage and the MGN12H block. This procedure worked for me:
- Loosely fasten the carriage to the MGN12H block using the M3x8 screws.
- Push the belts in on the left side, until they are just visible in the middle. Tighten the screws on the left side a little bit, to secure the belt ends.
- Push the belts in on the right side as far as you can, and pull them out through the middle.
- Tighten all screws, while making sure that all belts are firmly held in the clamp teeth.
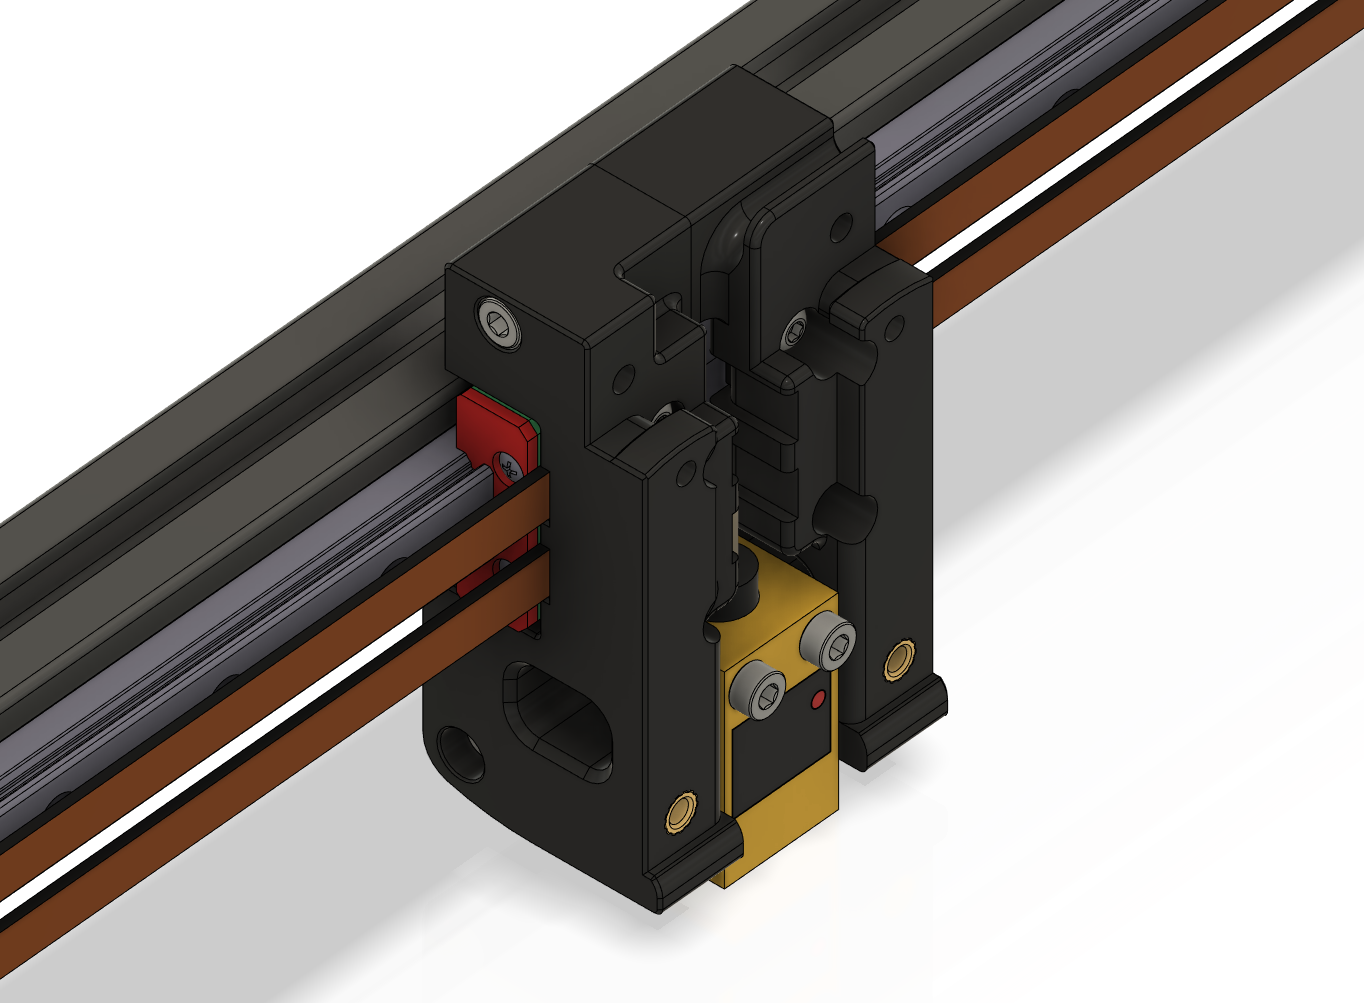
- You may wrap the extra length of belt around the probe cable, as in the photo below.
Please check the Z endstop position after assembly as it may have changed slightly.
Images